Do-IT-Yourself Notebook
For the longest time, however, Do-it-yourself (DIY) Notebook was an alien concept for me in the computer sector. This is because even though I own one, I never really had experience a major problem that would require me to do the unthinkable. Thus, the concept of the do-it-yourself notebook was practically unheard of. That is, until now.
While time allowed me to see the things that scared me the most while waiting for my new hard disk to be available in Manila, curiosity and passion was enough to leave all the fears behind and take the risk to dismantle my notebook piece by piece.
There are a number of reasons why I have to do the unthinkable. In particular, I have never seen what my notebook looks like bare naked and I was very much excited, I was very much challenged by my friend Vernon when he told me that he already did it a number of times, it would be expensive to pay technicians to do the job as well as I just don’t trust them that much and what else choice do I have.
As I plan my way on executing the mission impossible task, the biggest challenge may simply be a matter of keeping track of which type of screws go into which holes.
Those who immediately perform the task without planning should have been crying and regret for the rest of their life as they put things together.
Taking time to draw the complex look of your notebook and taking points on the right screw and holes was the perfect technique I could think of in order to make sure that I could put everything back to where it is.
The Components of My Notebook
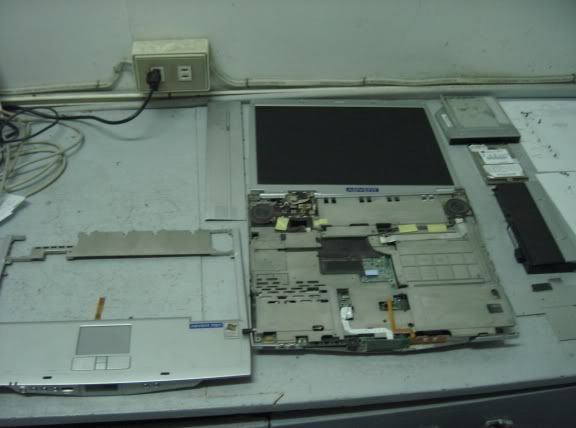
The top cover of my laptop, LCD Monitor, The CPU and Motherboard, CD-ROM/DVD-ROM, 40 GB Hard Disk and the Battery.
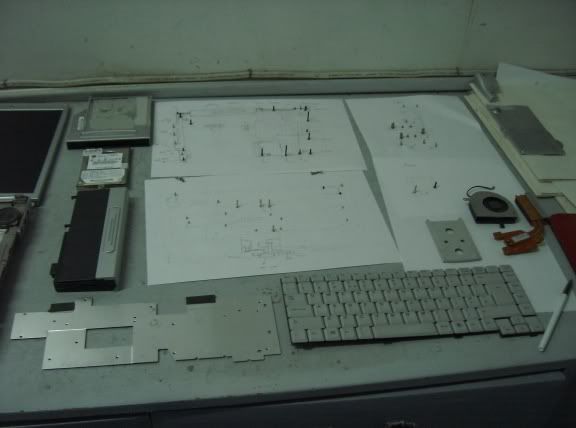
Next comes my simulated drawing of my notebook with screws on top of it. Below is the keyboard, PCMCIA card and the cooling system on the lower right.
Align with the keyboard, the three rectangular object was the cover of my LCD Monitor. It was really tricky to remove those things out.
Depending on the base bones design, perhaps the most difficult task involves putting the casing together as this involves quite a number of screws and some skillful snapping together parts. I did broke one lock of it when I finally gave in to my temper and just force it to lock. It was an idiot move. Lately, I realize that it was simple too bad I did not take time to observer things first.
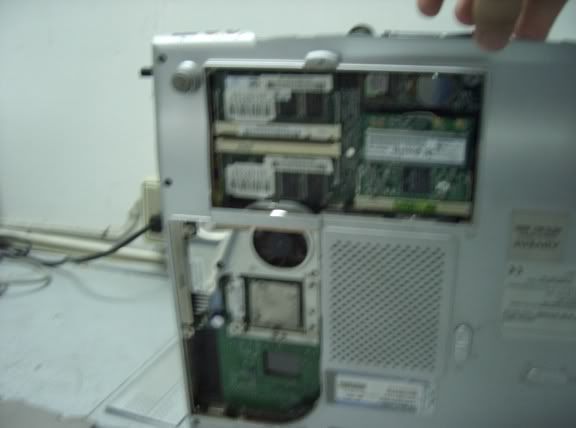
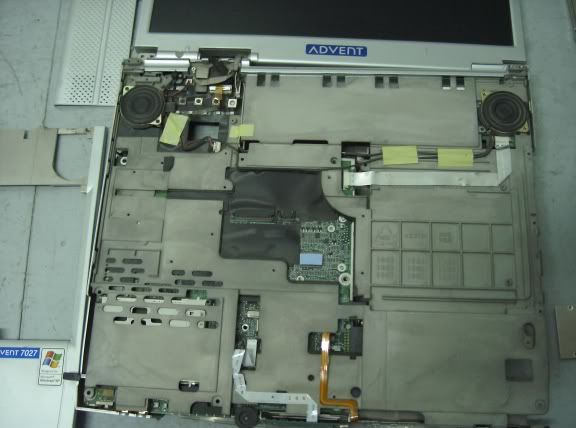
The bottom of my notebook. Two SO-DIMM slots are available in this unit located at the upper part of this picture. Up to 2 GB of memory.
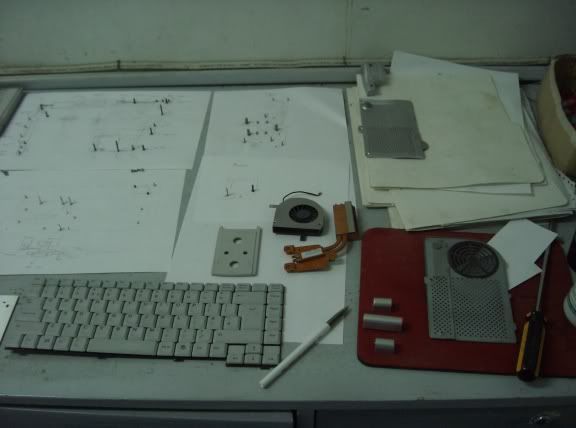
The CPU Cooling system, composed primarily of a heat pipe, copper conductors and a fan. This cooling system is in place over the processor at the lower part of the picture.
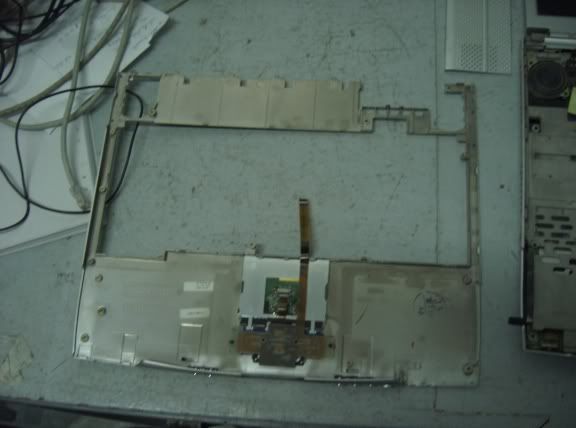
The back of my casing come next. Care must be taken in order to make sure that the wire is connected, particularly as this weird device typically holds special function keys such as touch sensitivity as you move the mouse.
With everything in place after a couple of hours during my first experience, I just realize that I don’t have to remove everything just to change my hard disk. But anyway, I still manage to do it over and over again for three times just to be satisfied.
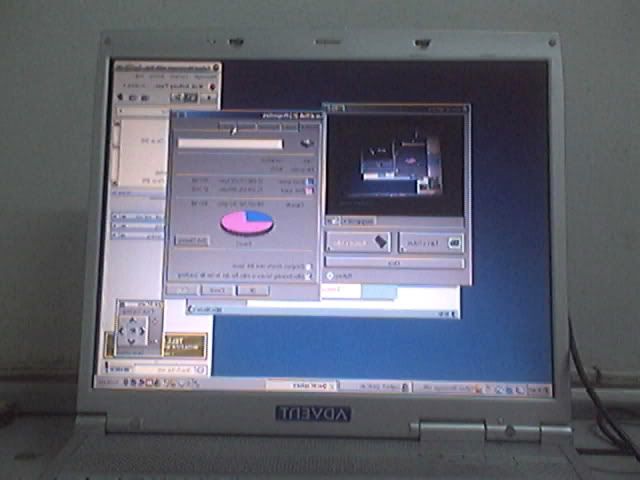
Now, the notebook should be ready to run. I have just attach my new Seagate Momentus 100GB 7200 rpm thanks to Nonski for the great help.
While time allowed me to see the things that scared me the most while waiting for my new hard disk to be available in Manila, curiosity and passion was enough to leave all the fears behind and take the risk to dismantle my notebook piece by piece.
There are a number of reasons why I have to do the unthinkable. In particular, I have never seen what my notebook looks like bare naked and I was very much excited, I was very much challenged by my friend Vernon when he told me that he already did it a number of times, it would be expensive to pay technicians to do the job as well as I just don’t trust them that much and what else choice do I have.
As I plan my way on executing the mission impossible task, the biggest challenge may simply be a matter of keeping track of which type of screws go into which holes.
Those who immediately perform the task without planning should have been crying and regret for the rest of their life as they put things together.
Taking time to draw the complex look of your notebook and taking points on the right screw and holes was the perfect technique I could think of in order to make sure that I could put everything back to where it is.
The Components of My Notebook
The top cover of my laptop, LCD Monitor, The CPU and Motherboard, CD-ROM/DVD-ROM, 40 GB Hard Disk and the Battery.
Next comes my simulated drawing of my notebook with screws on top of it. Below is the keyboard, PCMCIA card and the cooling system on the lower right.
Align with the keyboard, the three rectangular object was the cover of my LCD Monitor. It was really tricky to remove those things out.
Depending on the base bones design, perhaps the most difficult task involves putting the casing together as this involves quite a number of screws and some skillful snapping together parts. I did broke one lock of it when I finally gave in to my temper and just force it to lock. It was an idiot move. Lately, I realize that it was simple too bad I did not take time to observer things first.
The bottom of my notebook. Two SO-DIMM slots are available in this unit located at the upper part of this picture. Up to 2 GB of memory.
The CPU Cooling system, composed primarily of a heat pipe, copper conductors and a fan. This cooling system is in place over the processor at the lower part of the picture.
The back of my casing come next. Care must be taken in order to make sure that the wire is connected, particularly as this weird device typically holds special function keys such as touch sensitivity as you move the mouse.
With everything in place after a couple of hours during my first experience, I just realize that I don’t have to remove everything just to change my hard disk. But anyway, I still manage to do it over and over again for three times just to be satisfied.
Now, the notebook should be ready to run. I have just attach my new Seagate Momentus 100GB 7200 rpm thanks to Nonski for the great help.

Comments
hahaha kengkoy ka man jane uy. ambot lagi maski ako wa sad ko kabalo.